In this last tutorial we will see the last details, in particular the kick-stand, the steering rod, and the painting of our cargo bike.
Steering Rod
The steering rod transmits the rotation impressed on the handlebar to the front wheel. Among the various systems we have chosen the single rigid arm. The choice is dictated mainly by the simplicity of the system and by its small footprint.
The main charateristichs that the single arm system needs to have are:
- Stiffness, to avoid whobbling effects of the front wheel
- Simmetry, in order for the bike to behave the same in left and right turns
To obtain the right stiffness we decided to use a quite beefy circular profile (16×1.5mm), while for the simmetry requirement we operated on the geometry directly in the CAD. In case you don’t have a commercial CAD available, here you can find a useful list of the major open source CADs.
The last design parameter is represented by the ratio between the angle of the handlebar and the corresponding steering angle of the front wheel. From experience we have found that a ratio slightly higher then 1 makes the steering more responsive .
With this solution we were also able to limit the maximum handlebar angle, so that during a tight turn the outer hand doesn’t need to move too forward with the risk of losing balance.
The optimal ratio that we’ve found was 1.2, as in the following picture:

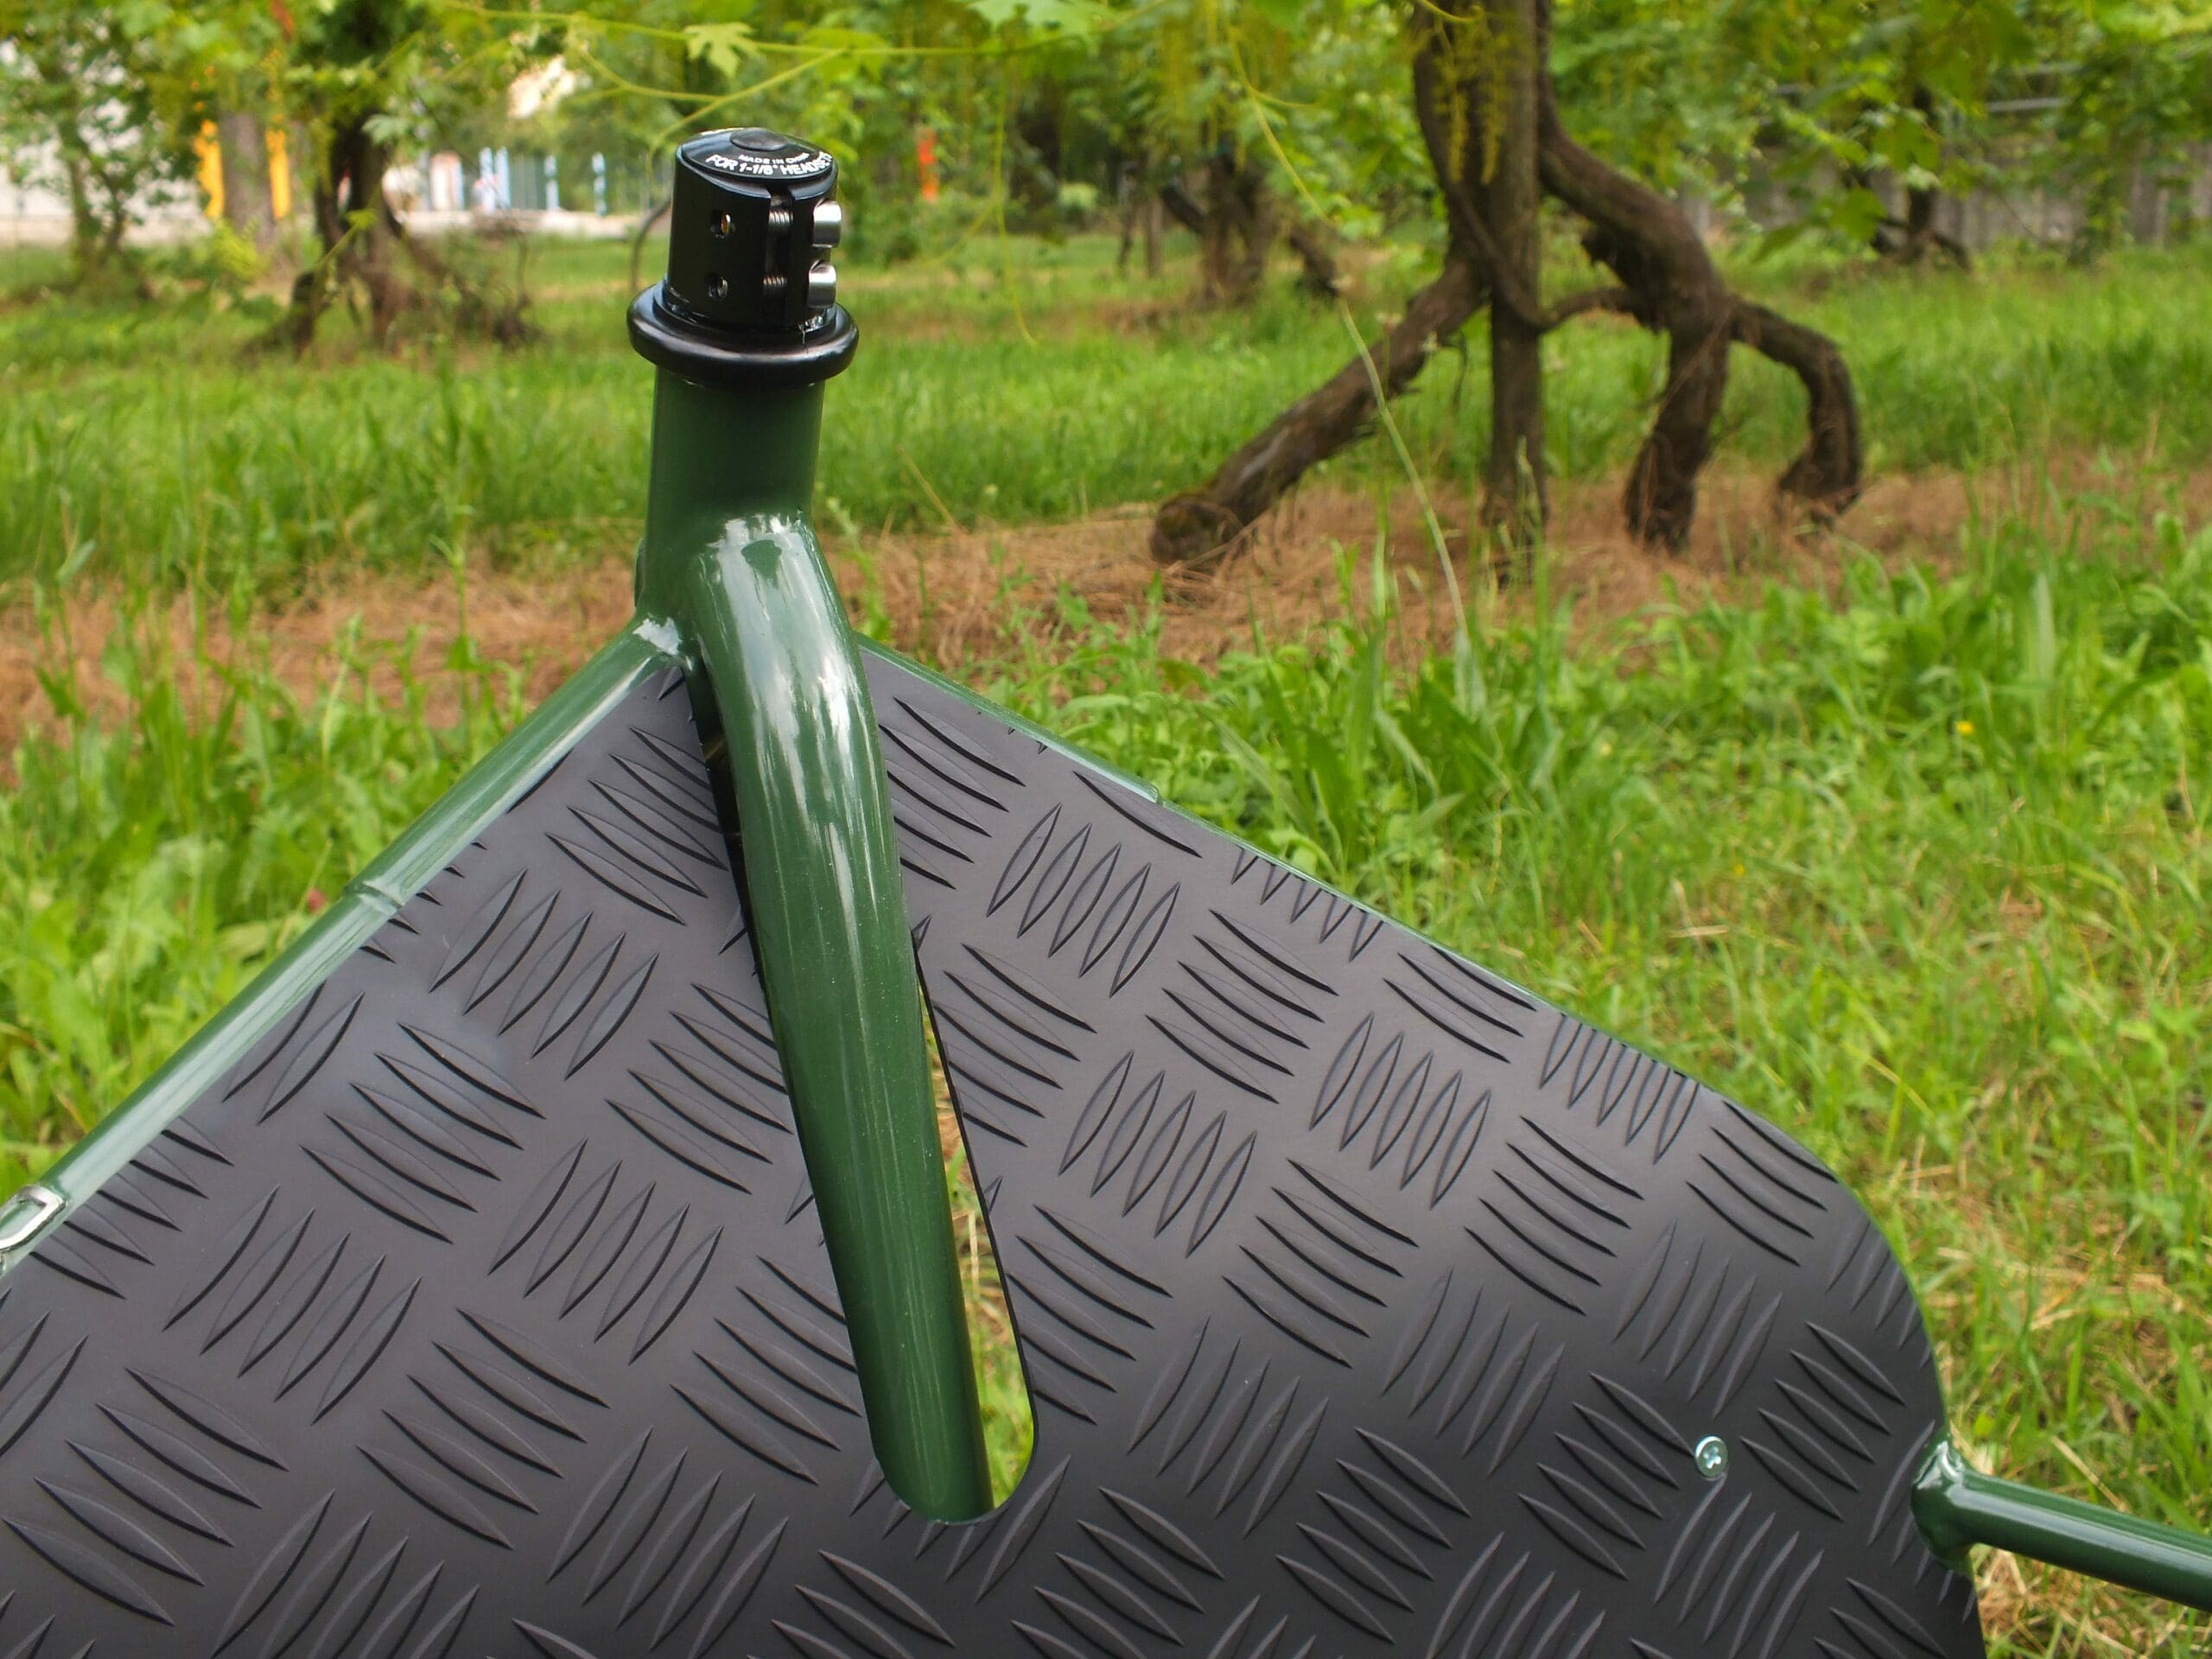
Rod mounting
Once the shape of the rod is decided, it’s time to choose where to place the mounting bracket on the fork. To determine this parameter we can place the front wheel all turned to the left, placing the bracket so to have a minimum space between the rod and the wheel.
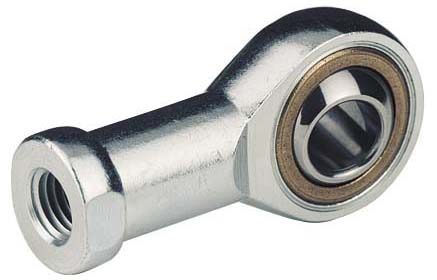
In order to fix the rod we used an M8 female joint head. Finally, to secure them to the rod we took advantage of the geometry of a hexagonal cap screw M8, the diameter of itd head being exactly 13mm. It fits perfectly inside the tube and it is easy to weld.
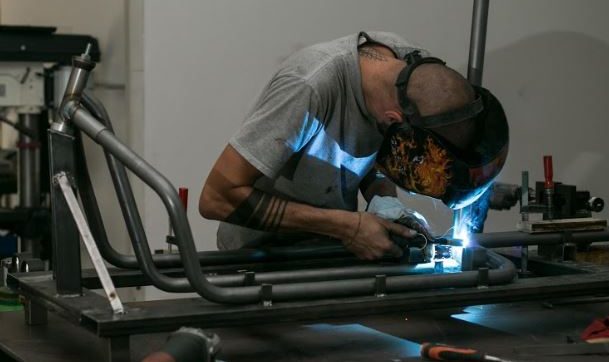
Kick-stand
The last part of the build regards the kick-stand. Unfortunately this small component it’s actually one of the trickiest!
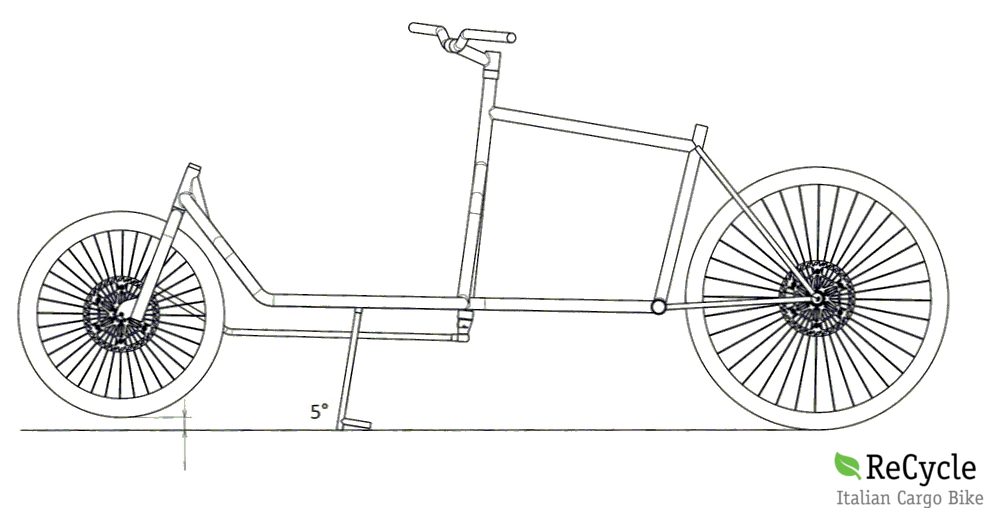
The kick-stand moves rotating on two pivots grafted on two bushings welded to the frame, and when it is in its parking mode is positioned with an inclination of about 5 ° to the ground. This angle is sufficient to ensure a stable stop, and prevents the center of gravity of the bicycle to move too far forward. By using a higher angle you’ll risk that the kick-stand gets stuck when pushing the bike front, making it difficult to use.
The other kick-stand feature is the length of the leg, that we have designed so as to lift the front wheel off the ground of about 20-30mm. It is a fair compromise, allowing a good stop over rough terrain or slightly downhill, while avoiding to lift the bike too much, making a stop very tiring especially with front load.
The kick-stand geometry is the following:
Cargo bike painting and assembling
At this point our cargo bike frame is complete, ready to be assembled with all the components. Before proceeding with this step, the frame will be sandblasted to remove all the welding slag and the brazing oxide (cable holders).
We’ll then proceed to powdercoating painting, made in two steps:
- Rust-protecion priming
- Epoxy based powdercoat
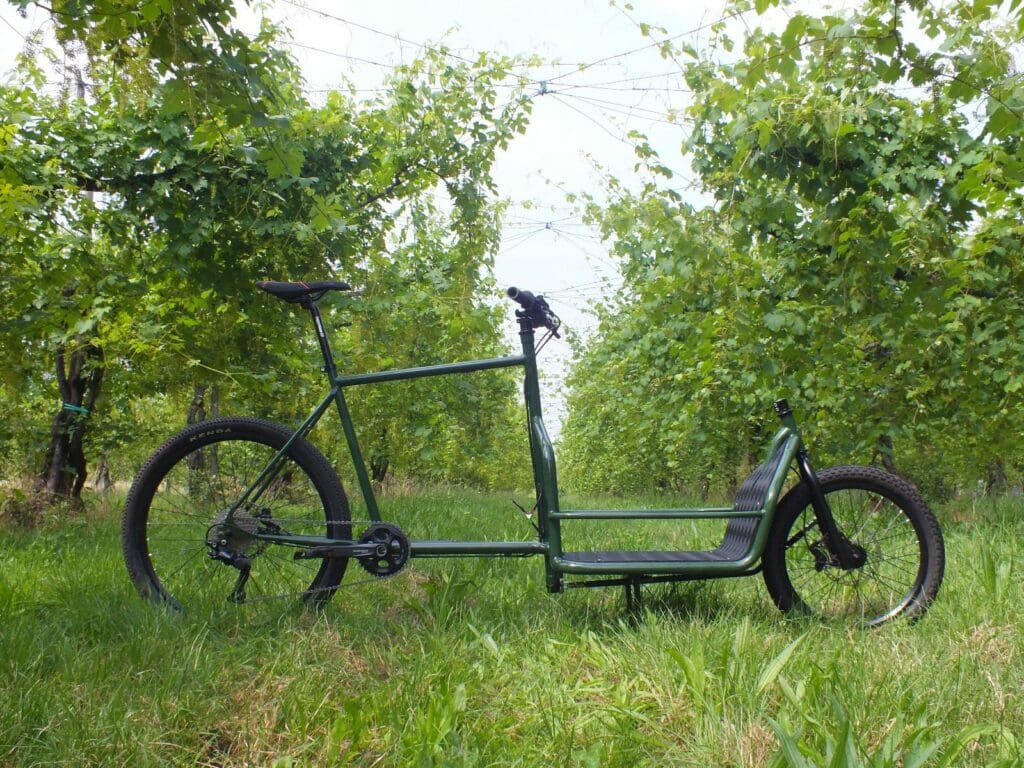
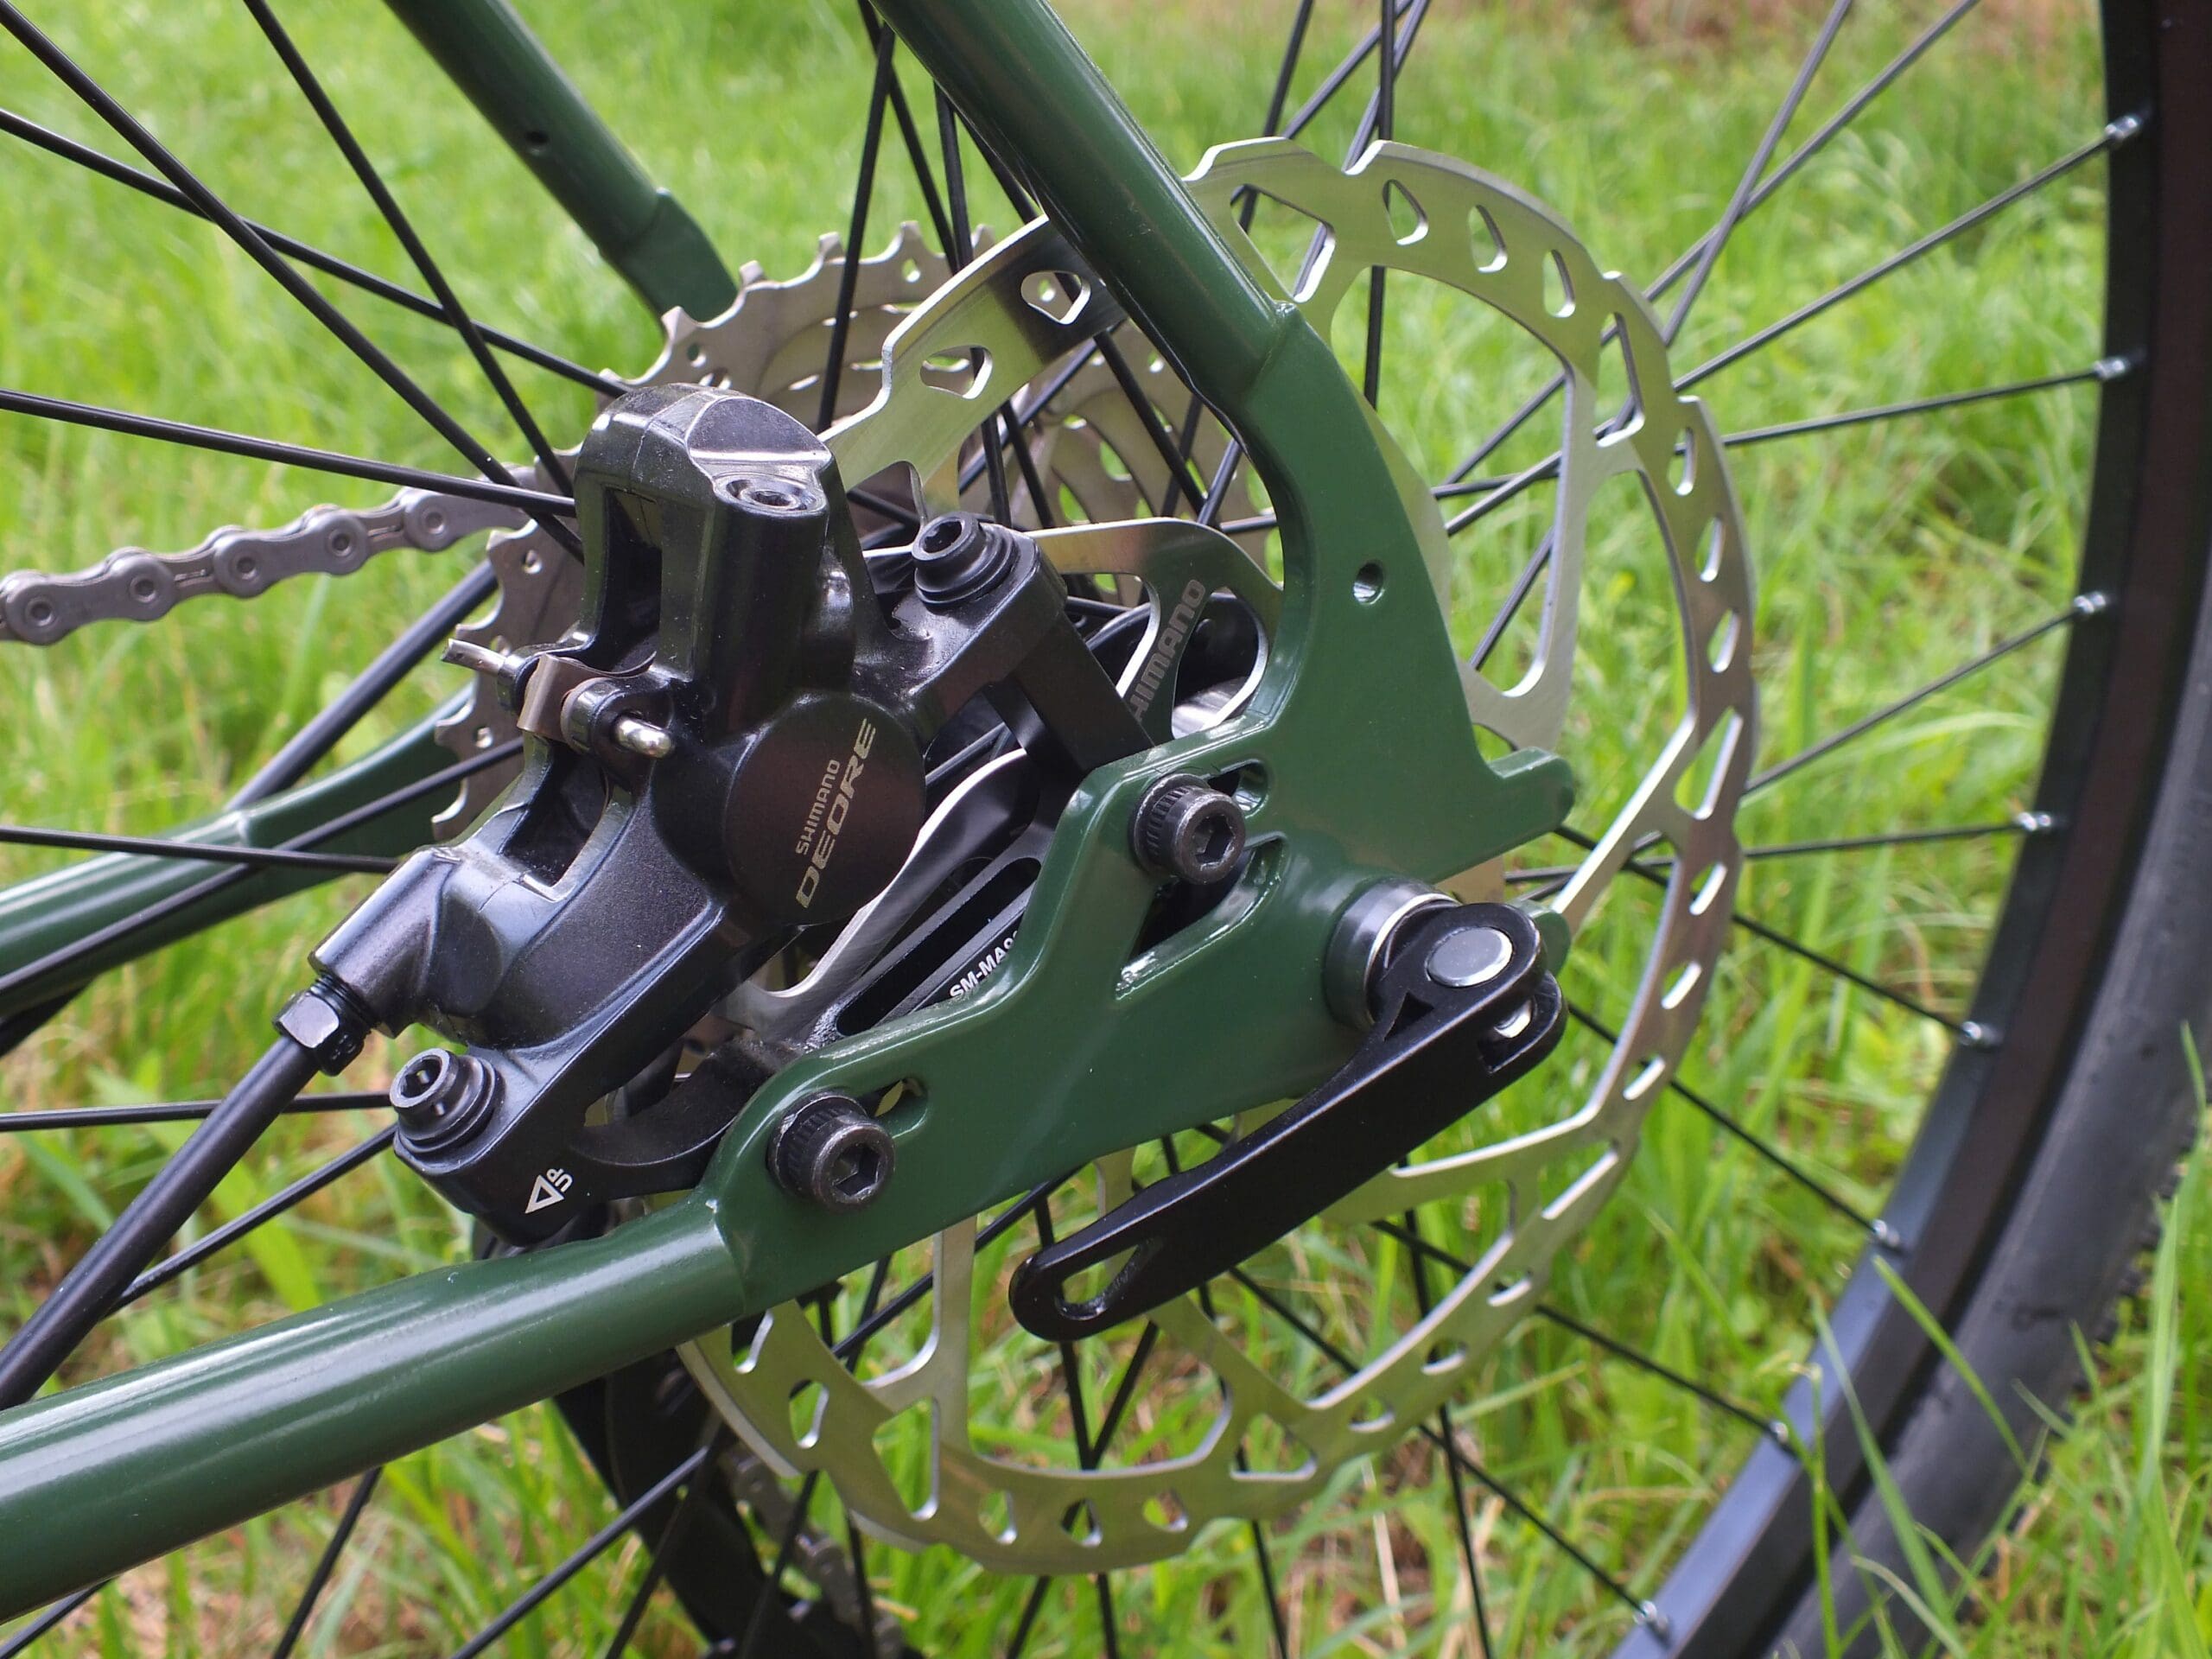
Finally, as a last step, the assembly of the components. In this case a Bronte assembled with a complete Shimano SLX 2×11 groupset. Our Bronte cargo bike is now ready to ride!