In this first tutorial we will describe how to prepare the MTB frame in order to build your cargo bike.
The size for the starting frame is determined by the end user’s physical characteristics. Choosing a size that suits you will result in a finished frame on which will be comfortable for you. If you have any doubt about your ideal size, here you can find some useful tips to guide you.
Once you have chosen the right frame the next steps are the following cuts:
- Head tube and down tube
- V-brakes mounting bolts
- Rack eyelets
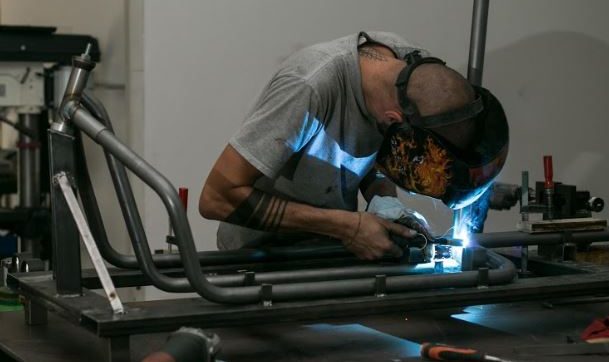
Let’s start with the description of the head tube and down tube cuts. These are simple operations (mainly cutting and grinding) but still not without risks. Take all the necessary precautions, and especially if you decide to use the angle grinder, always wear gloves, protective glasses and earplugs.
The frame must be cut at the sections shown in the picture below, trying to stay as close as possible respectively to the head tube and to the bottom bracket:
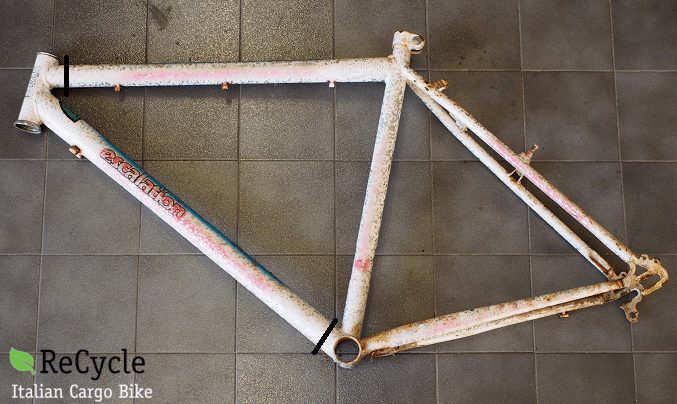
Let’s proceed with the cut of the down tube. If you find yourself with not enough space, proceed with a series of minor cuts to avoid damages to the bottom bracket. Finally, we can remove the v-brake mounting bolts and the rear rack eyelets (if present).
This is where the supporting plate for the disc caliper will be welded.
Once all the cutting operations are completed, we can proceed with a final grind. With the angle grinder or half-round file polish the bottom bracket, and if removed, the v-brake mounting bolts and rack eyelets.
Our MTB frame is now completed, in the next tutorials we will see how to prepare the tubes of the front loading frame and how to arrange them for welding in order to build a cargo bike. Even our first Bronte was born like this!